
Start a Blog, That Makes Your Passive-Income/Money
Anybody makes money round the clock by starting their own blog… Seriously!!
You can even generate enough money from your blog to leave your job.
DON’T THINK OF IT?
If you are wondering how to create a blog, you have come to the right place for blogging. As a blogger myself, I can explain to you that it is a rewarding way to POLISH YOUR WRITING SKILLS, and by make an online presence that revolves around your passions and expertise, and explore new ideas.
PERMANENT JOB EARNING
By passionate yourself in writing articles or what you love and doing some basic SEO to index your articles in the GOOGLE DATABASE, you can even create making passive income (MONEY IN DOLLARS) and turn all that into a permanent job.
NO IDEA FOR STARTUP
If you are a new blogger and have no idea how to start a blog, that’s the reason, I have written a complete step-by-step guide to help you with an evidence tutorial in starting a blog, without learning HTML codes as the majority of content writers accomplish.
STEPS TO START A BLOG IN WORDPRESS
In this step-by-step guide, I will give you the full guidance and tools and you will be able to start a blog. In this article, you will learn how to make your website, and pages, and write your first blog post.
It sound thrilling?
Let’s jump in.
Step No. 1 Initially, Buy the WebHosting & DomainName
Step No. 2 Select a Blogging Platform
Step No. 3 Download & Install WordPress
Step No. 4 To Install WordPress Themes with Plugins
Step No. 5 Write Your 1st Post In WordPress
I will cover the complete topic starting from scratch to making money from your written work. In a very short time like in a half hour, you can make your blog online, or less.
WHAT IS A BLOG?
A blog may include the whole website or may be its own section, in this section or option; you can share your content about the topic you have chosen.
A blog normally contains both written and visual essentials published in an article so that viewers can browse and get the details they required or looking. About 32 million blogs have been written in the US alone about each and every subject of the world, once your blog website is known to your readers, your success will be endless.

STEP NO. 1 – INITIALLY, BUY THE WEBHOSTING & DOMAINNAME
To create a blog on your own domain name, you’ll need two things i.e. Domain and Hosting both.
DOMAIN NAME
The Web Address is supported by your domain, based on which organic traffic will come to your blog. It’s your blog’s unique online identity. You can register a domain name through domain registrars like GoDaddy, Hostinger, or Google Domains. It’s essential to choose a domain name that reflects your blog’s content or your personal brand, and from where the user can able to find your different posts and visit again and again.
WHAT IS THE DOMAIN NAME?
A domain name is the human-readable web address that you type into a web browser’s address bar to visit a specific website.
For example of, Google, the domain name is www.google.com etc, alike this if you like to buy your own domain name, your blog address will be like this, www.blog-name.com.
WEB HOSTING
In order to blog up and running over the internet, you need web hosting. Without web hosting, you can’t use your own domain for your website purchased.
Web hosting is like a computer hard disk in which all the files, songs, movies, and pictures, stored on the hard disk. Like, on the internet, web hosting is the hard drive for storage of website data.
The cost of web hosting is approx. $0.99 to $1.99 or less than Burst pizza cost and like a smart investment for your future.
WHAT IS THE COST, TO START A BLOG?
While researching about, how to start a blog, the main question arises how much it cost and how? Whereas, on many platforms, starting a blog is completely free.
Going on, after the certain timeline, whether, you would like to update, or upgrade your blog with different themes and styles, the overall cost depends on your budget.
PURCHASE A DOMAIN NAME AND HOSTING SERVICES
While making the decision to purchase hosting services, two factors always considered.
- Speed Of Loading Page
Total time of blog page required to load on a visitor’s browser screen
- The Uptime Of The Server
The duration of your web host server keeps your blog accessible on your domain per month.
There are many web hosting companies to choose from, all offering similar domain and hosting services. When you start working with well-known and recommended providers like, Bluehost, Hostinger, GoDaddy Hosting, etc consider other web hosting companies that offer fast, reliable service and unlimited bandwidth.
STEP NO. 2 – SELECT A BLOGGING PLATFORM
Purchasing of your blog hosting & domain can be done at the same time. No worries about the details right now. Surely but before you start, you required to select a WordPress host, due to the WordPress popularity, and these are big in numbers of user of WordPress hosts.
I have personally checked the performance of different hosting companies. Based on my personal experience, I can surely, recommend the best hosting and domain through ‘Hostinger’ in the world wide web of WordPress.
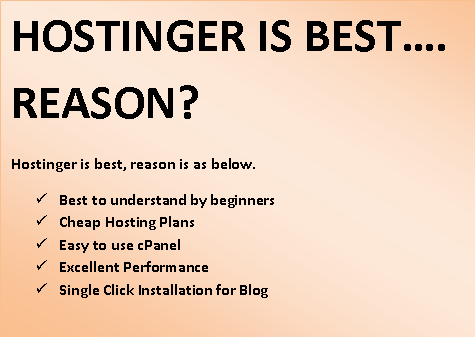
REASON TO CHOOSE HOSTINGER
Because of its affordability, you can easily purchase a hosting for your website as affordable as easy – it’s just $3.25 per month for your first 12 months.
You can easily install WordPress. By a few clicks, you can initially install the WordPress software and get a working blog. As you don’t required any technical expertise.
The total cost will be about $39 to host your blog at Hostinger for the entire year, which includes your free domain name, with money-back guarantee.
- Free To Use
There are millions of free themes and plugin forever (life time) usage as other blogging platform don’t provide.
- Easy To Customize
Very easy to install and make set up. And it’s easy to customize your homepage page. With more flexibility to modify your blog as you required.
There are millions of free themes and plugin accessible to change or add more functionalities either you need to integrate a contact Form or User Subscription Box of your blog.
STEP NO. 3 – INSTALLING WORDPRESS THEMES WITH PLUGINS
While installing WordPress on Hostinger is a simple process. Hostinger offers a user-friendly control panel which is called cPanel, and includes an easy way to install WordPress by using the “Auto Installer” option.
Here’s a step-by-step guide to installing WordPress on Hostinger
SIGN IN TO YOUR HOSTINGER ACCOUNT
You may login Hostinger account by using your user id and password.
ACCESS CPANEL
After logging in the cPanel and find softaculous option on WordPress.
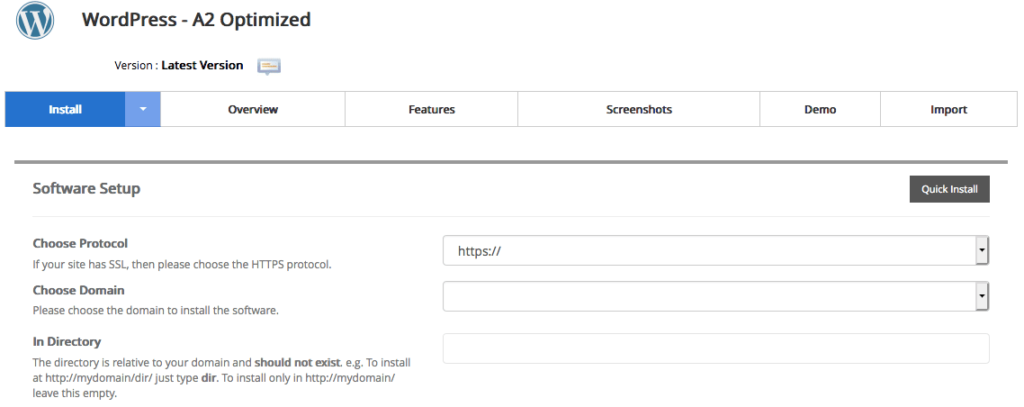
There will be an option to fill some of your details for your WordPress installation.
CHOOSE PROTOCOL
You can usually leave this as “http//” or “https//” depending on your site’s security certificate.
CHOOSE DOMAIN
In this option, you must select the domain for the installation of WordPress.
SITE NAME
Enter the name of your website like www.websitename.com
ADMIN USERNAME
Select a username of admin account for your WordPress.
ADMIN PASSWORD
Required a protected password for your admin account.
ADMIN EMAIL
Enter your email address like Google, yahoo, hotmail etc.
SELECT LANGUAGE
Select the language for WordPress installation.
INSTALLATION OF WORDPRESS
By filling the essential information, click “Install” or “Install WordPress” button. The installation process will begin.
COMPLETE THE REQUIREMENT AND ACCESS YOUR SITE
When the installation completed, you will receive a verification and confirmation email and also, you will get the login details for your WordPress admin panel.
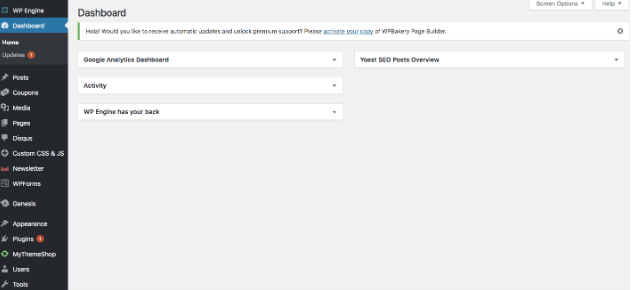
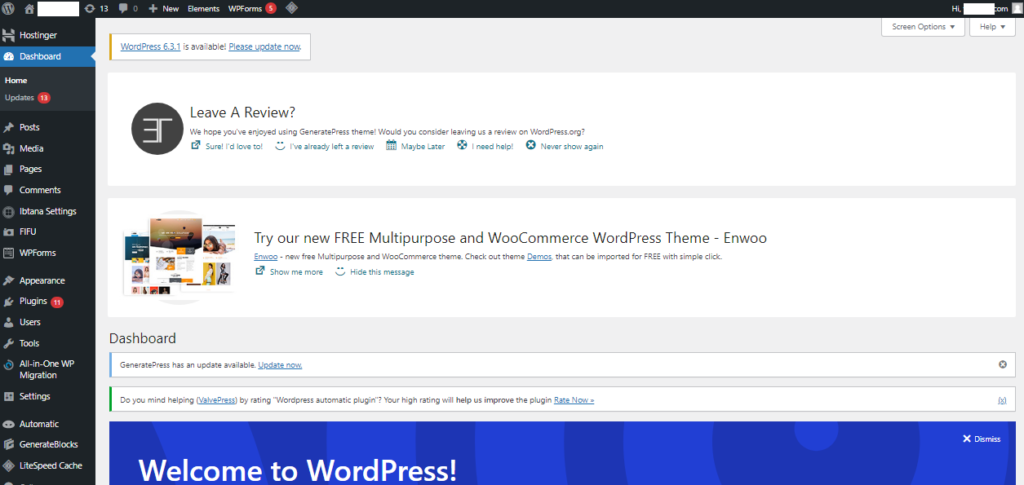
ACCESS TO THE DASHBOARD
Now, after the completion of whole process, you have access you to your WordPress dashboard by login with your domain name i.e. www.domainname.com/wp-admin/ and by logging in with the admin-username and admin-password, what you set during the verification & installation process.
Now, you have finally, installed the WordPress on Hostinger. Now at this instant, you can customize website with multiple pages, with by installing plugins and themes.
STEP NO. 4 – TO INSTALL WORDPRESS THEMES WITH PLUGINS
There are built-in design available in WordPress for website, are called Themes. After the application of theme, your website blog will look easy for the public. Themes are thousand in numbers, to choose and apply on your site.
Existing theme can be swap out by the new theme, and if required, you may change the theme on just one click and your website will evolve over the time as when you figure out which look best and which option works best, in practice.
STEPS FOR SELECTION OF THEME
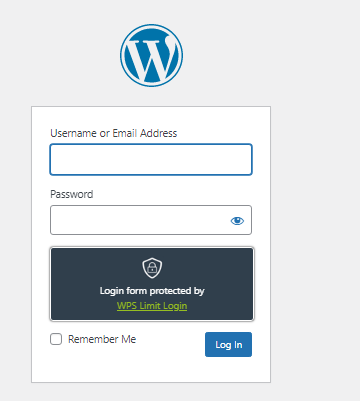
Initially, you must login to you WordPress admin panel by accessing through your admin panel i.e. www.domainname.com/wp-admin.
Now, enter your user and password for log in.
After the installation of theme, click over the option Appearance in the side menu bar and then click themes
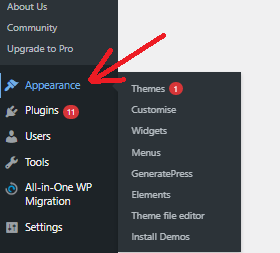
Some of the built in themes are ready to assign but we will go to search for the Generate press themes that will be easy and convenient.
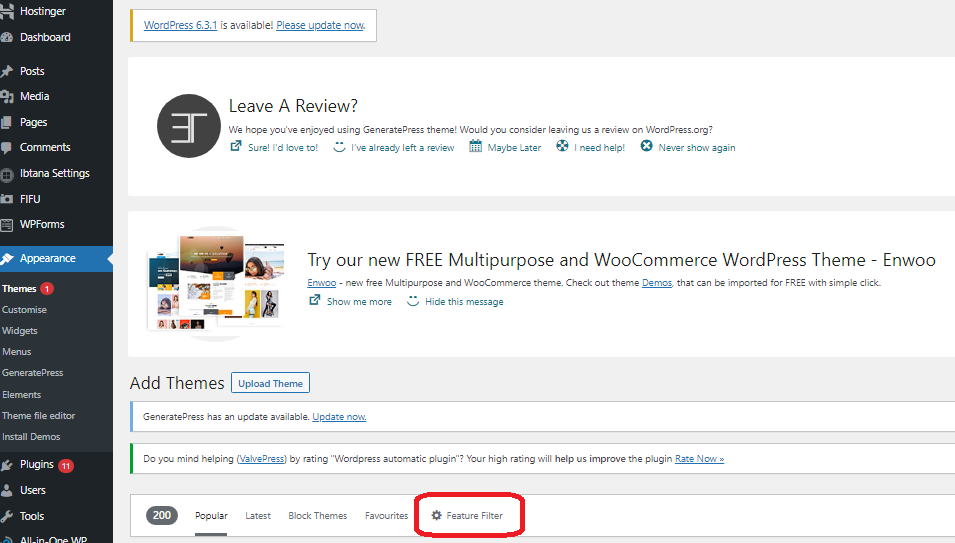
Now, click on the middle header, with ‘add new’ button to access to thousands of themes in WordPress.

Word press contains the ‘feature filter’ which will help you in the identification that would suit you and compatible with your thoughts.
WordPress contains the three options i.e. ‘feature’, subject, layout, that would help you about your blog, how blog will look like. It shows that the filter requests are look like
By applying the different filters to your website, Site look will be amazing else you have to purchase theme in many dollars, which also required to design by the designer

When you click to view the website you are able to preview the new look of your website and which can be change through by applying different themes if required.
After the satisfaction of outlook of your website, just click the install button for installation and fixed the outlook.
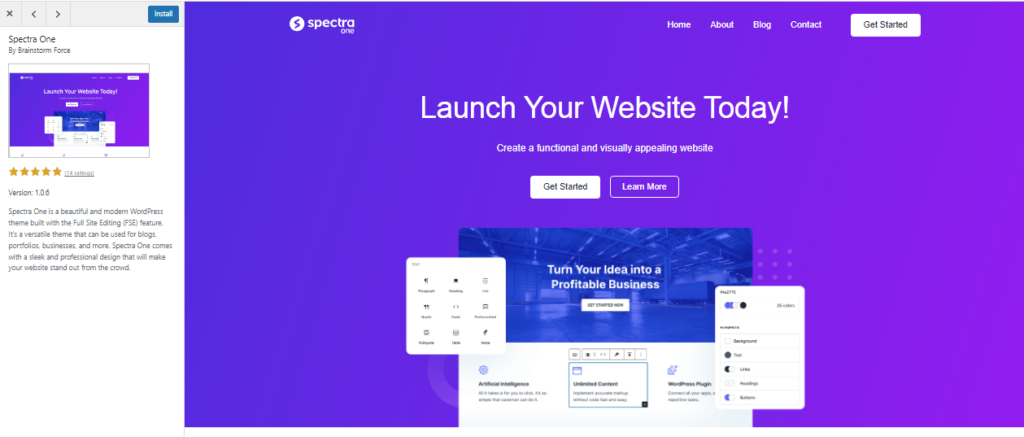
After the complete installation, you may activate through active option and your WordPress website is ready to go live.
STEP NO. 5 – WRITE YOUR 1ST POST IN WORDPRESS
Wonderful, that you have successfully launch your WordPress blog with your own domain name, with the astonishing outlook of your website with the help of selection of themes based on your niche.
HOW TO START YOUR FIRST BLOG POST
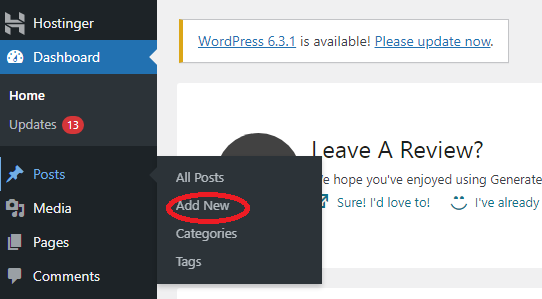
Now, login your to WordPress panel and the navigate to Posts menu and click on the add new option.
TITLE AND CONTENT OF YOUR BLOG
In the heading box, write the blog post title and in the dialogue box the attractive title, which also help in SEO of your article and blog. Now, in the content box of the option, write your content with others links, images and different picture that relates to your topic.
CATEGORIES OF YOUR BLOG POST, POST STATUS & FEATURED IMAGE
Through WordPress panel you can create different blog post categories by just click the option to create the category name and also allowed you to set a featured image according to blog.
Finally, you must ensure the status of you blog as ‘PUBLISHED’ otherwise your blog will not go live and will not be previewed on the website.
CONTENT IMAGES, LINKS AND HEADING
Inserting images and links are very easy in your blog post. Heading and images are the core attraction for visitors to stay on the page and read a blog and by this your website ranking will go high…
oscine xyandanxvurulmus.40yBd3US2gTg
Погрузитесь в мир инъекций красоты, чтобы выглядеть моложе.
Зачем делать уколы красоты?, познайте секрет.
“Уколы красоты в июле 2024”. “В июле 2024 года благоприятные дни для уколов красоты можно выбрать по лунному календарю, чтобы улучшить результаты процедур и снизить риск осложнений.”
“Beauty injections in July 2024”. “In July 2024, favorable days for beauty injections can be chosen according to the lunar calendar to improve the results of the procedures and reduce the risk of complications.”